
CabMasterPro User Guide
GigaDXF Uses a ribbon to display all the options and actions. You may be familiar with the ribbon layout from programs such as Word and Outlook.
The ribbon contains two (2) tabs, the File menu and the Import/Export tab.
Pressing this button will open the full screen menu. To exit, press the large arrow at the top left, as indicated.

Click to Expand
The Settings page, shown above, contains the default options for the program. These are editable.
This allows you to toggle on/off the Preview pane. Uncheck this box if you just want to view the list.
The Preview Colour settings control the DXF preview. Pressing the applicable button allows you to select a new colour.
Changing the colours in the Preview Pane is done by selecting a colour using the colour picker.
The Units page allows you to tell GigaDXF that the DXF is in imperial units.
The default material is the material that will be added to the drop list and selected when you add a new part to GigaDXF.
To add a material to the list simply type it in.
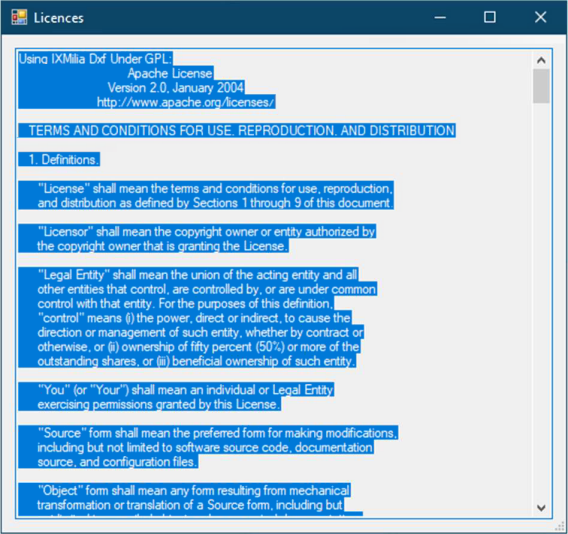
The About page shows the licensing information for the open source library used to create the GigaDXF.
Licenses Information Sample
Click on the Exit button to close the application.
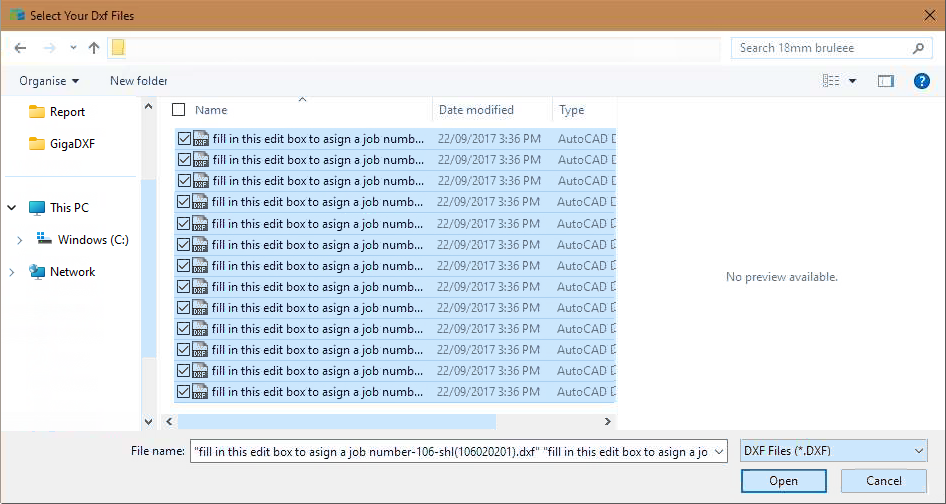
Imports DXF files by using the Browse dialog.
Browse to select your DXF Files
Clicking on this button, exports the DXT file for EzyNest.
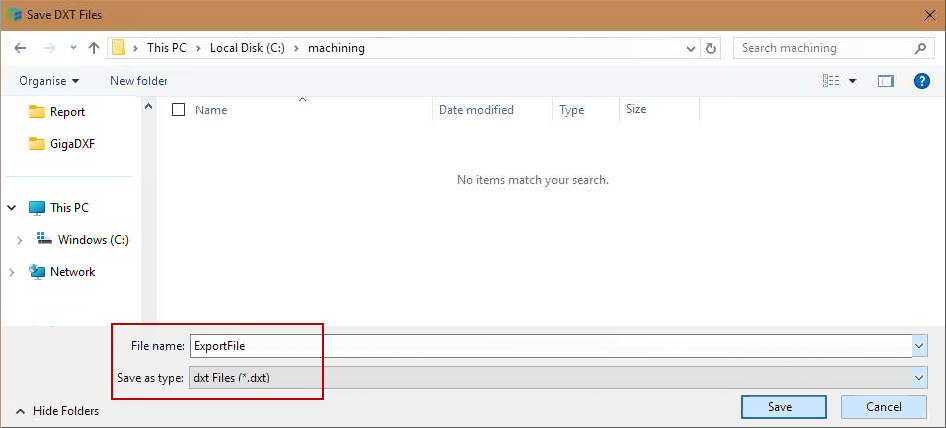
This opens a Browse dialog, from where you can type the file name required. Pressing 'Save' will export the file.
Browse to Save DXT Files
More options can be access by right clicking on any active column.
Columns are used to store information for labelling in EzyNest.
This allows a column to be renamed. Note, columns that are required cannot be renamed.
Deletes the selected column.
Copies the selected cells to the clipboard for future paste.
Paste cells over the current cell selection.
Saves the current column layout for the next time you run GigaDXF.
Allows you to amend details of a selected cells.
This prepares BiesseWorks and Bsolid DXF for EzyNest use - see Prepare Files of EzyNest topic.


