CabMasterPro User Guide
This is a unique feature to CabMaster Software™ which automatically resizes a larger cabinet to fit perfectly in between two existing cabinets. It also updates any component or cutting information for the modified cabinet.
Before we start the tutorial, the following is a summary of how to use the Auto Cutback function.
In this tutorial we have want to place a Floor Door Right into the vacant space between a drawer cabinet and a corner cabinet.
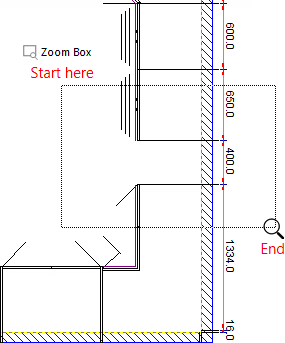
Select View > Zoom Box from the Zoom group of commands.
Then move the mouse starting from the ‘Floor Drawer' cabinet and ending with the ‘Floor Corner' cabinet, as shown…
- You will notice that as the mouse hovers over the drawing page, a magnifying glass appears;
- Move the magnifying glass to the location that you wish to start from (shown top left).
- Click and hold down the left mouse button. Drag to draw a box around the area that you want to zoom in on.
When you release the mouse key, the drawing image will have increased dramatically to show you the selected area.
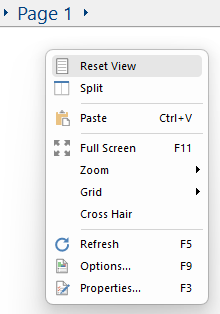
To return to the normal 'Full Page' view (i.e. exit Zoom), right click on the drawing page and from the presented menu click on the Reset View option.
Reset View
Now we want to place a cabinet in this vacant area, which is only 400mm.
Select a cabinet that is like the one you need regardless of the size.
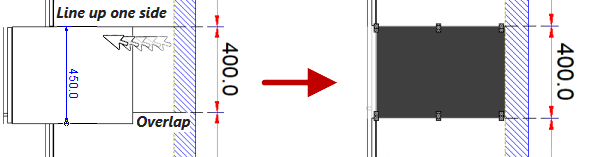
- For this lesson, select a ‘Floor 1 Door Left’ which has a default width of 450mm.
- Place the cabinet and while holding down the left mouse button and the ‘Ctrl’ key, move the cabinet on the drawing page into the vacant area.
DO NOT let go of the left mouse.- With the left mouse button and ‘Ctrl’ key still engaged, drag the cabinet into the vacant area until it is against the wall but still overlapping the cabinet beside it (overlap as shown).
- Release the mouse button and the cabinet will shrink to fit exactly into the available space.
- Finally, release the 'Ctrl' key.
The program cuts the cabinet back to the available size, which in this example is 400mm.