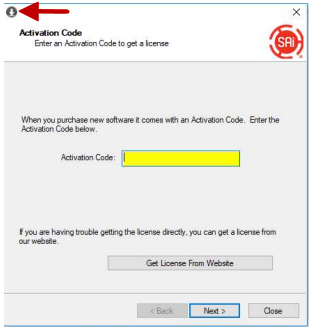

First you will need to make sure your license has been activated. Do this by navigating to https://www.saicloud.com/ and entering your Activation Code in the edit box provided (sample shown below).
You will need to complete the application process following the instructions on the website. Once activated, the license will be available to be used.
During the activation process, you will be required to either provide a new email address to setup your account or the details of an existing one to link the new license to.
If you are setting up a new email address www.saicloud.com will send an email through to further verify your details, this will need to be completed next before you can proceed to the next stage i.e. installing the software.

Once you have correctly activated your license (as per above), then you should see a download link when you log into https://www.saicloud.com/ again.
This will download the latest application installer.
During the Install process you will be asked by the “License Manager” to provide the Activation Code, please ensure you have an internet connection during this process as the license will need to register with SaiCloud.
If installing on a second computer, it is best to remove the license from the current computer first so that during the install process the license can be acquired.
If you needed to re-download the CD you can just log into SaiCloud using your email and password.
Now that EzyNest is installed you can remove the license from the installed computer if you require, this is done by running the license manager which is located inside the install path of EzyNest.
When you Run License Manager and the license is active on this computer, click on Remove License From This Computer. This will attempt to communicate with the SaiCloud website to confirm the release of the license.
Then on the new computer that you want to use the License on, you will need to run License Manager and click on License this computer again if it had previously had the license.