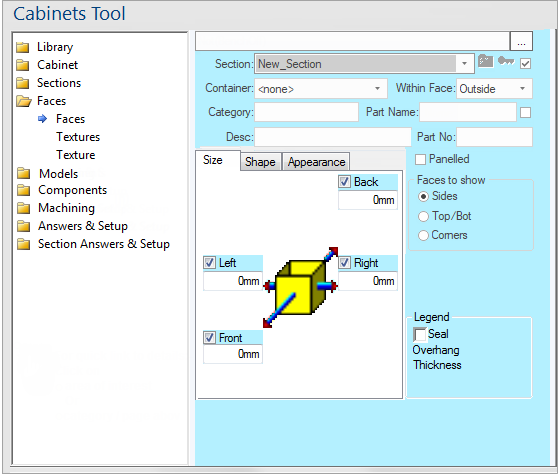


For quick links to more information, click on  the controls or another category/page.
To find out the property names for these controls, see the Faces page under the Formula Reference.
These control every aspect of the faces on a section. Each face has its own set of controls which operates in the same way as every other face. A set of controls usually consists of checkboxes, edit boxes and buttons, depending on which sub-tab is visible. Because so many options are packed onto that small area, the meaning of each set of controls is explained separately on the Legend. For example, on the Sizes sub-tab each face has a checkbox and three edit boxes (two if the section is not panelled). To find out what these controls do, we look to the Legend which indicates that the checkbox is the Seal flag for each face and the text boxes are for the Overhang, Thickness and Radius. See the description of the Legend below for more information, this section will concentrate more on what each property actually does.
Is common to all tabs discussed below and indicates that a face actually exists on the current section.
- Overhang:
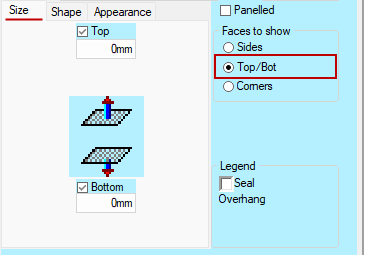
Extends this face outwards from the section by a specified distance for things like benchtop sections. You can enter a negative amount to recess the face inwards.- Thickness:
This only appears when a section is marked as Panelled and controls how thick each panel is (because each face is now a panel). Setting a thickness makes each panel "grow" inwards towards the middle of the section, so the overall size of the section won't increase. The only exception to this is entering a negative thickness which causes the panel thickness to extend outwards. Note that having panels with negative thickness probably won't show up correctly in 3D images.
When a section is panelled and each panel has a thickness you end up with a hollow box-like structure which has real sides to it (as opposed to zero-thickness faces). However, the panels are not entirely realistic because they overlap each other at the edges so you couldn't get accurate cutting lists just from a basic panelled section. Panels are more commonly used for placing other sections within them.
Shape tab
- Radius:
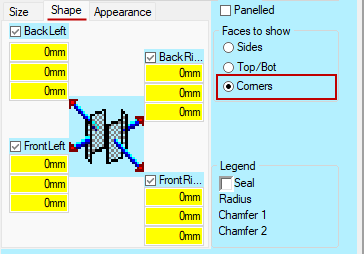
Adds a curved edge to a particular face; not available on top and bottom faces. Entering a large positive radius will create a smooth convex curved face which appears in preview, plan and 3D modes. "Large" means that the radius has to be at least half the width of the face otherwise it is impossible to have a curve that tight on a face that wide. When the radius is too small the curve will disappear completely, so if curves aren't showing up make sure you have the radius set large enough. To create a concave curve, enter a negative radius.
Appearance tab
- Show Face and Show Section:
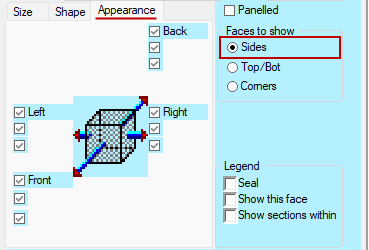
These flags are the equivalent of the Show Flags for sections: Show Section and Show Content. They are usually used for container faces which have other sections inside them. In cases like this you would usually want the container to be invisible (turn off "Show this face") but the sections inside it to be shown (turn on "Show sections within"). "Show this face" may seem similar to the "Seal" flag on a face but the difference is that the face still exists, it is just hidden. Unsealing a face means the face does not exist at all.A face that has a section within it and both of these boxes checked will generate a warning message because that means both the face and the sections within it are being displayed and will probably overlap. Similarly, another warning is given if neither of the boxes are checked.
Example

Example

Example

The image in the centre of the Face Controls sub-page is handy for determining which face is which on a section. It shows a simplified 3D drawing of a section, with arrows pointing to each of the four face controls.
You will notice as you click between the "Faces to show" options, it changes to reflect which faces are being edited. It also changes depending on the value of the "Show This Section" checkbox on the Sections > Appearance page to indicate whether you are edging a visible section or a container section. When "Show Section" is ticked, the picture shows a solid yellow section, otherwise it displays a grey transparent box to indicate an invisible container.
The "Panelled" flag option also that affects the picture is the - clicking this changes the picture between a solid cube and a hollow boxes with sides.
Example
Picture Key shows a simplified 3D drawing of a section...
- shown left, the picture key has "Panelled" turned OFF (default)
- picture is greyed out because the "This section" check box is turned OFF on the Sections > Appearance page
- but allows the "Contained sections" to be seen (click on image to view option)
- shown right, the "Panelled' option is turned ON
- and the "Thickness" option is made available
The Legend shows what each set of face controls are used for.
As you change between the different sub-pages on the Faces page (Size, Shape, Appearance), the legend also changes to reflect the face controls on that page.
The layout of the labels on the Legend corresponds with the layout of the edit boxes, checkboxes and button controls for each face.
If you are ever unsure of which controls are used to edit which properties, just move your mouse over the control and a tooltip will appear telling you what the control is for.