CabMasterPro User Guide
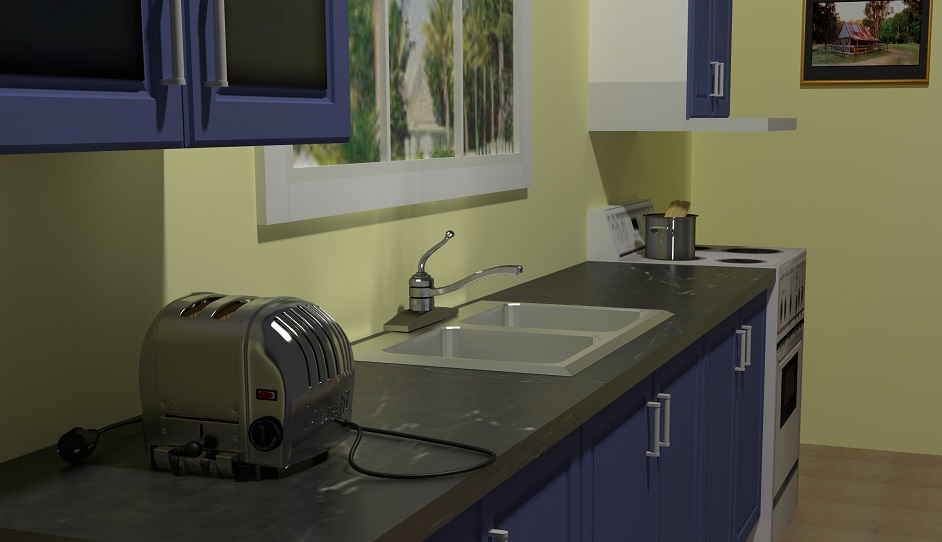
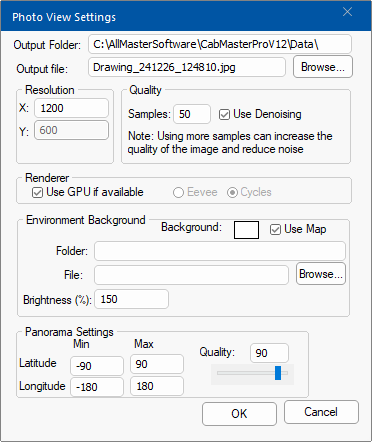
PhotoView allows you to generate photorealistic renders that include ultra high quality models like the following. This can be achieved using Blender.
CabMaster Software™ ensures that you have the latest version of Blender for PhotoView to increase the speed and ability of PhotoView, including environments.
Click to view an image example which is Full HD 1920x1080 at 100 Samples and took a total of 24 seconds to render.
Laptop Specs: Lenovo Legion i7 Gaming Laptop with 32GB Ram and RTX4070 graphics card.

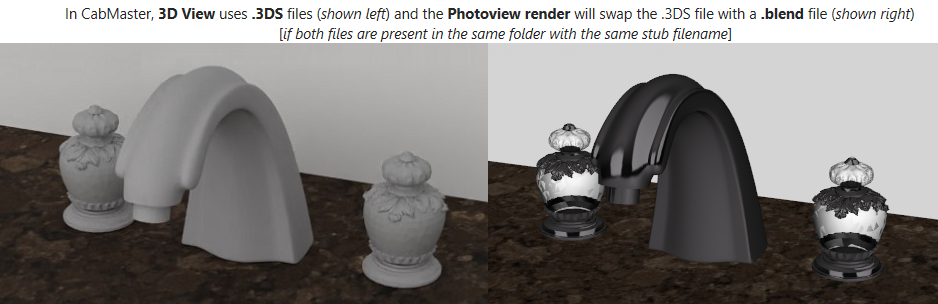
Blender models ( .blend files), if available, will replace lower quality 3DS or Rhino model files as the Photoview is being generated.
You can have as many Blender models as you like and also use the same Blender model multiple times in a design.
Since there are thousands of freely available Blender models ( .blend files), the easiest approach is to start with a Blender model and then just export a 3DS equivalent directly from Blender.
To complete this tutorial it is assumed that the reader has a...
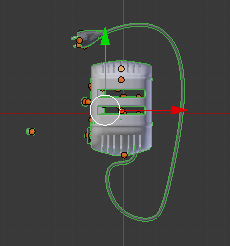
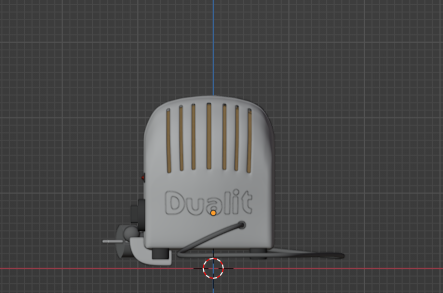
In this tutorial, we will produce a pair of files called toaster.blend and toaster.3ds. To do this we will...
Then these two files need to be in the same folder (e.g. C:/MyKitchen/toaster.blend and C:/MyKitchen/toaster.3ds). Then you just proceed to use the 3DS model during design in the normal way and PhotoView will automatically do the rest, using the companion .blend file during rendering.
To get started, let's take a Blender model and modify it to be suitable for use, then also create a companion 3ds file.
 and select 'toaster - just the starting blend model.zip'.
This tutorial assumes you have extracted the zip to C:\MyKitchen\
Normally, you would extract/unpack to a Models folder in your Bitmap tree for ease of access.
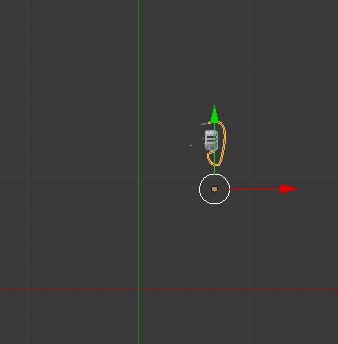
To do this, switch to a 3D View and ensure the geometry is still selected.

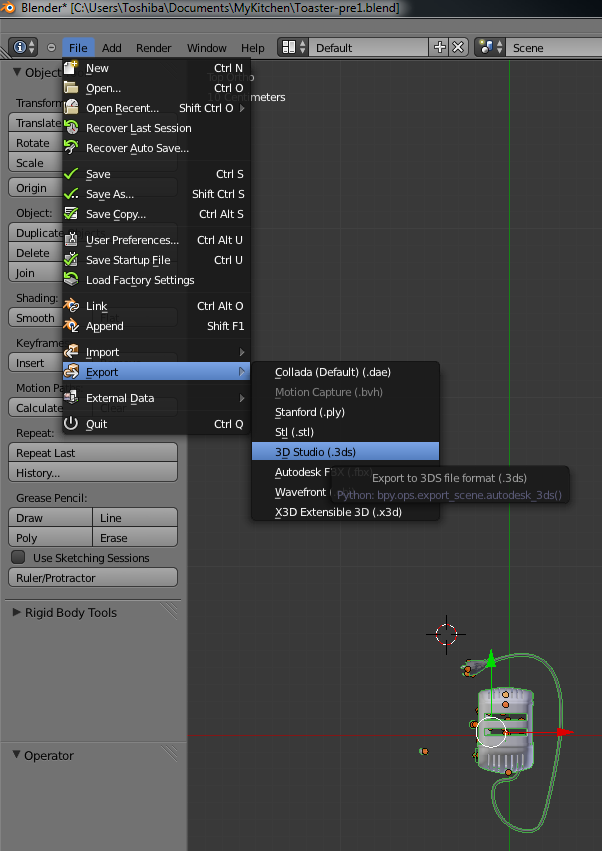
From the File menu in Blender, as shown, select Export > 3D Studio (.3ds).
Note 1: Ensure that any textures used by the 3DS model are in the same folder as the 3ds file.
- You may have to make another copy of the textures for the Blender model if it is used in a subfolder.
Note 2: Your Blender install must have the updated .py files copied into place.
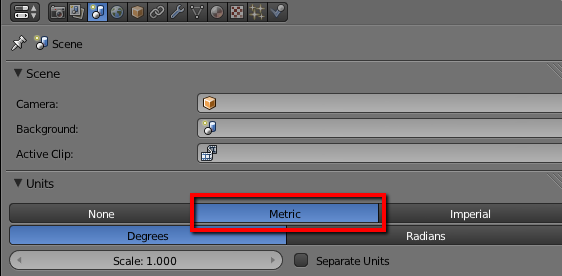
- Otherwise the scales of the 3ds and Blender models may not match - see Assumptions above.
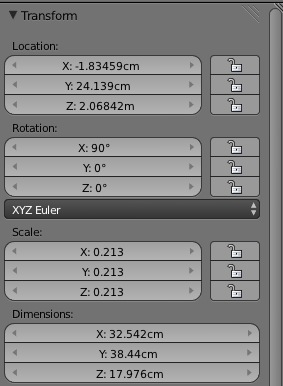
Notice that it automatically imports at the correct scale. Position the model in the desired location
For a full discussion on options, see tutorial on 3D Photoview Best Practice.