CabMasterPro User Guide
This tutorial will discuss how to use the default Capping Tool to add capping to the top of cabinets, creating a decorative finish in your choice of material. This tool can be used to create floor and ceiling pieces.
 Watch the Video A Minute with Mike : A New Take on Mouldings [Dec 2025]
To simplify the customisation process, the Classic Capping and Classic Moulding tools have been introduced - see for yourself how easy it is!
For this discussion we will place wall cabinets and load the 'Capping Tool v12' used for this tutorial.
Sample drawing used for this tutorial
- Set the Job Default Heights for the Ceiling to 2700mm and the Overall Kitchen to 2400mm (click on image below).
- Insert wall and place cabinets as shown.
- Click on image to view defaults and the 3D result.
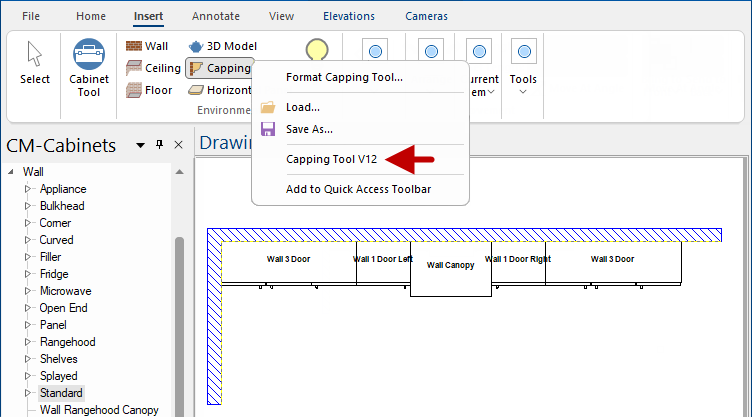
- Right click on the Capping command icon and if the required tool (Capping Tool v12 as shown) is in the list then simply click on it.
- If the required tool is not in the list, select 'Load' which will open the ToolData > Capping folder for selection. (Capping Tool v12.qtd)
Click to view Job Default Heights
You may see more than one type of Capping tool available for selection as capping (and many other tools) has been customised to act as a template for creating new objects - see how you can Create Custom Tools.
Follow the link for a detailed discussion of the Capping Tool options.
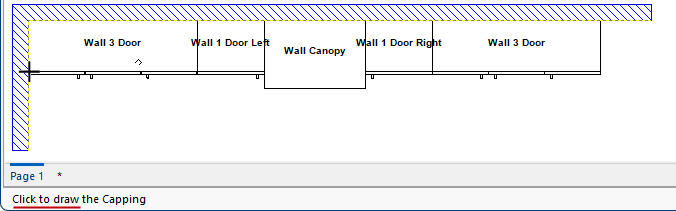
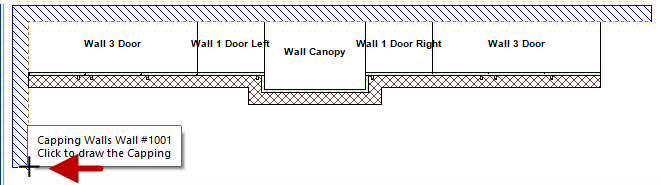
Now we are ready to add cornice/bulkhead/shadow to the top of wall cabinets.
Click to Expand
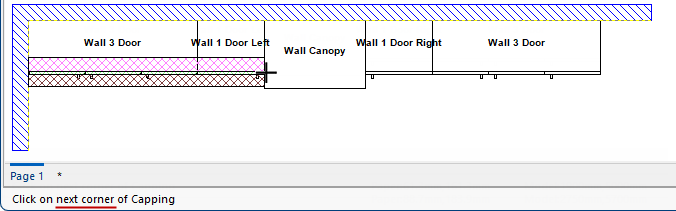
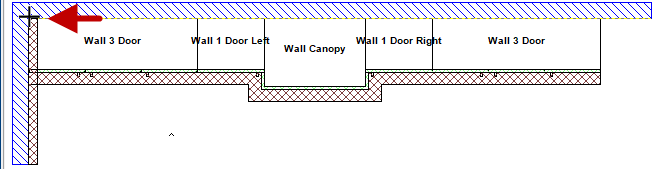
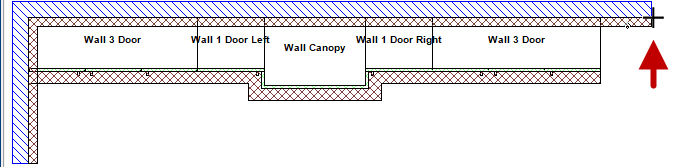
Click on the corners you want to add cornice to, in a clockwise direction.
In this example, we are going to follow the edge of the cabinets.
around Wall Canopy
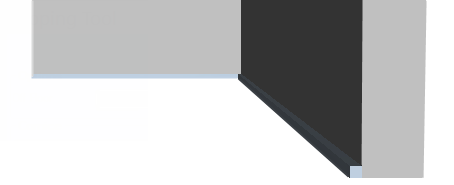
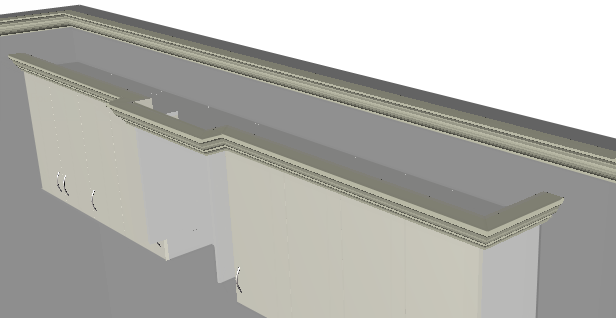
View in 3D. Here you can see that the cornice/bulkhead/shadow. For a better view (side on) click on image.
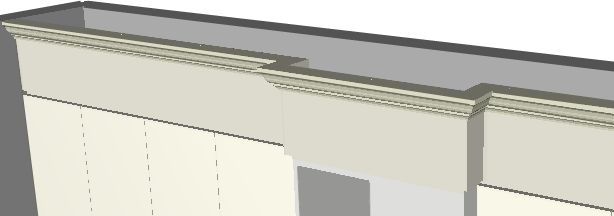
Click to view side view of cornice/bulkhead/shadow
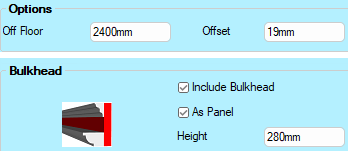
You can customise the placed capping by double clicking on it and see what happens when you...
- change the Bulkhead Height to 80mm
- turn OFF the Include Capping/Shadow
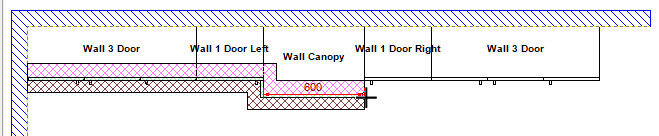
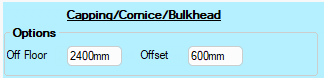
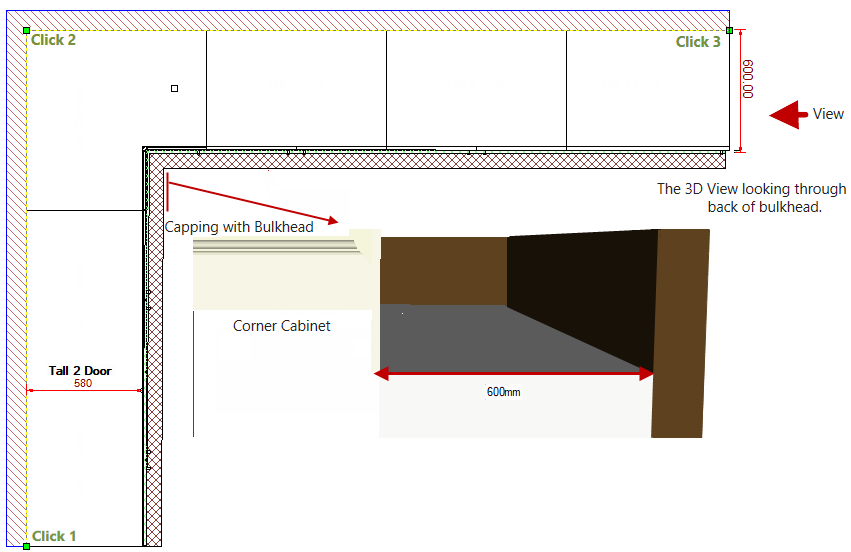
Alternatively, you can place the capping offset a distance from the wall.
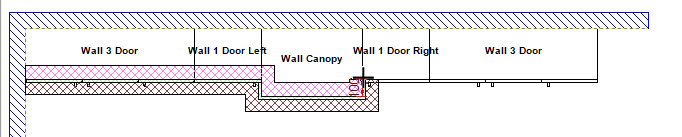
In this example, we have edited the Capping Tool and set the Offset to 600mm.
Click to view dimensions of cabinets
This takes into account the Depth (580mm) of the cabinets plus the Door (18mm) with an additional 2mm.
Then click on the corners of the wall you want to add it to in a clockwise direction.
The capping tool can be used in the same way to place skirting boards along the base of your interior walls.

Click to view all options
around Wall Edges
View in 3D.
By simply by adjusting the Off Floor Height, we can add a cornice to the ceiling. Draw capping around the wall in the exactly the same way as for the floor.
Click on image to view Capping Tool settings
A Minute with Mike : A New Take on Mouldings
To simplify the customisation process, the Classic Capping and Classic Moulding tools have been introduced - see for yourself how easy it is! [1:34 mins]