CabMasterPro User Guide
This is same as the standard Label page with the addition of a drop list for selecting the current Dim Line in the set.
For quick links to more information, click on  the options or page names. See also Dimension Set Tool.
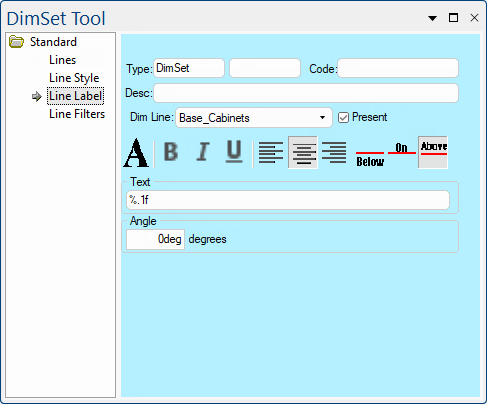 |
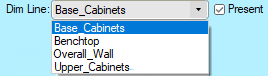
The drop down list allows you to select the dimension line in the set that you want to apply label settings i.e. each line can have different text settings applied.
The 'Present' check box automatically reflects the selection on the Lines page but you can change whether the selected Dim Line is displayed (or not) here as well.

Clicking the large "A" icon opens the standard Windows font dialog, where you can set the typeface, point size, style, effects and colour of the text. There is a sample area on the font dialog where you can see how the selected options will affect the text appearance. When you close the dialog, the text in the edit box updates to reflect the selected font.

These buttons are used to turn the three style options on or off - bold, italic or underlined. Each button is independent so you can use any combination of styles at once. When a button appears depressed the corresponding style is enabled. The three styles are also available from the Font dialog.

The Justification buttons control where the text of a label appears horizontally relative to its attachment point. Unlike the Style buttons, these are linked so you can only select one at a time. From left to right, the buttons select left, centre and right justification, just like in any word processing application. With a Label, this only shifts the text left and right but with the Text Box it aligns all the lines of text to one side (or the centre) of the text box.

The Alignment of a label is similar to the justification, except it controls the vertical position relative to the attachment point. The three buttons - Below, On and Above - are also linked so you can only select one at a time.
This is the angle that the text appears at on the drawing, with normal horizontal text being at zero degrees. You can enter any angle in either degrees or radians, and the text will be rotated around its attachment point by that angle.