
To access the Define Layers window, simply click on the icon on the main menu.
The Define Layers area is where the user can link layers to strategies.
The buttons at the bottom of the window allow you to...
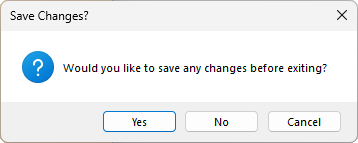
If the user has made changes and presses Close without saving first, the user will be prompted to save the changes before returning to the main menu.
The table column headings include the following...
Example of Strategy Configuration

It is very important that the Design Depth matches the Strategy depth exactly.
For example, shown above, the BORDER Strategy is 16Deep. Therefore it is important that the Design Depth is 16.00 i.e. exactly the same. If the Strategy is 16.1 then the Design Depth would have to be 16.1 to match.
If the Use Depth is enabled (ticked), CabMaster Software™ will provide the information to stretch the strategy to the required depth. This means that you can use the 16mm Strategy to cut an 18mm BORDER if required, and CabMaster will automatically adjust for it.
 Watch the Video EzyNest Design Depth Explained.
When Strategy Templates are created, the strategy is created with a specific depth. If a routing offset depth is set to a depth of 16mm, then this is the depth at which toolpaths will be created when this strategy is applied. If this strategy is used to cut out material that is 16mm thick, then this works great. However, if you also want to use this same strategy to cut out material that is 18mm thick, there could be a problem. The Design Depth parameter helps solve this issue. In this case, you would set Design Depth to 16mm, and click on Use Depth to put a tick in the checkbox. (see Tip box above)
The Close button returns you to the main menu.
If the you have made changes to a Layer and Close without saving first, you will be asked if you want to save before exiting the current window.
