CabMasterPro User Guide
To access the Tools Library, simply click on the icon on the main menu.. This allows the user to add, edit and delete tools from their tools library.

Click to Expand
To select a tool simply click on it from the list of tools.
While you are setting up a tool, you will see there are two diagrams to the right of the dialog.
Click to Expand
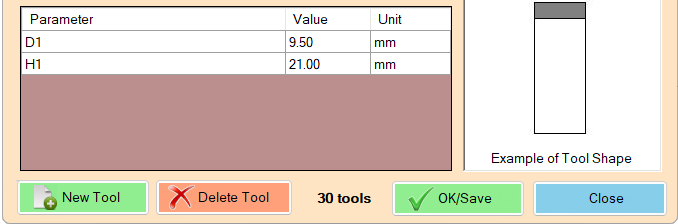
Once selected, the box below the tool list (shown below) will allow the user to enter the values to create the size and shape of the tool.
The bottom right diagram, shows you the shape of the tool for the parameters you have provided.
Example 1: In this example, the tool selected is the 9.5Comp 3W (shown above).
The tool's D1 value as 9.5mm for the diameter of the tool, and its H1 value as 21.0mm as the cutting length of the tool.
The H1's cutting length is not the entire length of the tool - it is just the length of the tool that is used for machining.
The usable height of the tool determines the number of passes required during machining. Typically this is greater that the thickness of the material being machined, but if not, EzyNest will do multiple passes as necessary. The diameter of the tool is generally very important as it lets EzyNest calculate actual toolpaths when offset strategies are used.
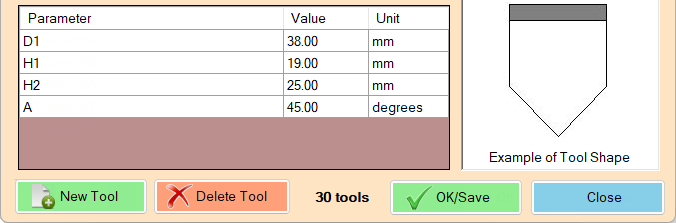
Example 2: In this example, the 90DEG Bevel Conic tool has been selected (click on image).
This tools D1 (tool diameter) as 38.0mm, its H1 (machinable height) as 19.0mm, and additional height of the tool as H2 (25.0mm).
The A (angle) will need to be specified as well, here showing as 45.0 degrees.
Click to Expand
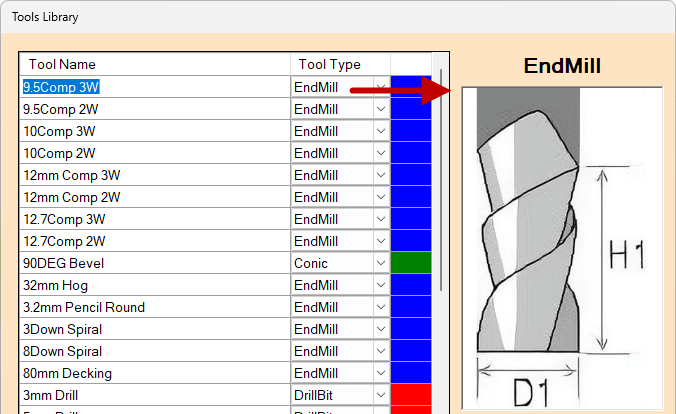
By changing the Tool Type column to a different tool, you will be able to see the different parameters that can be set (and the diagrams alongside them as the images change).
See also Sharp Corners and 3D Engrave which discusses setting up a Conic tool to cut square corners of a door profile.
Changes made on this screen are saved when the user clicks OK, or abandoned if the user clicks Close.
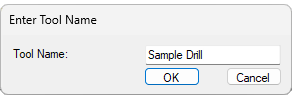
When you are setting up a new tool...
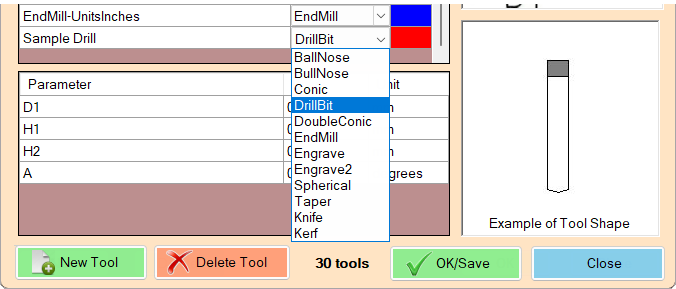
Select the tool from the list by clicking on it and click Delete.
The Close button returns you to the main menu.
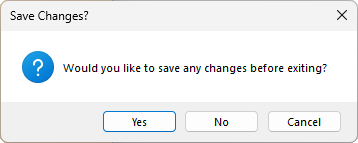
If the you have made changes to a tool and Close without saving first, you will be asked if you want to save before exiting the current window.