CabMasterPro User Guide
Each ATP file holds many settings for EzyNest to control how your job will be machined. This topic will discuss...
The ATP  command button is normally located on the top right of the toolbar, as shown.

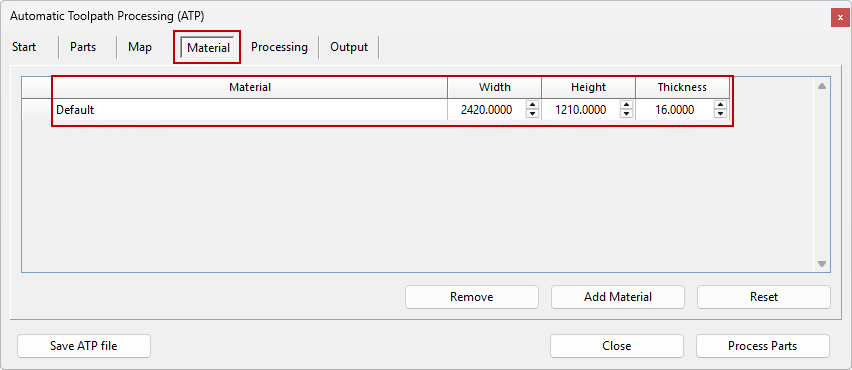
Make sure you do not have any parts added and you remove all saved Materials, other than Default as shown.
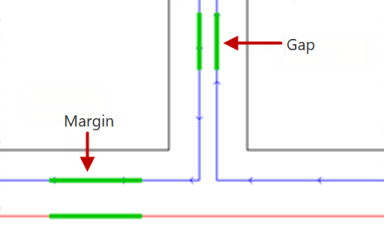
Gap
The gap is the distance that will be between the outer-most toolpaths of adjacent parts i.e. how much distance to add between parts.
Margin
The margin is the distance from the edge of the plate (red line) to the centre of the toolpath of the nested part (blue line) i.e. part placement from the edge of the sheet. For the purpose of calculation, the edge of the plate (red line) is the centre of the tool if there was a margin of zero.
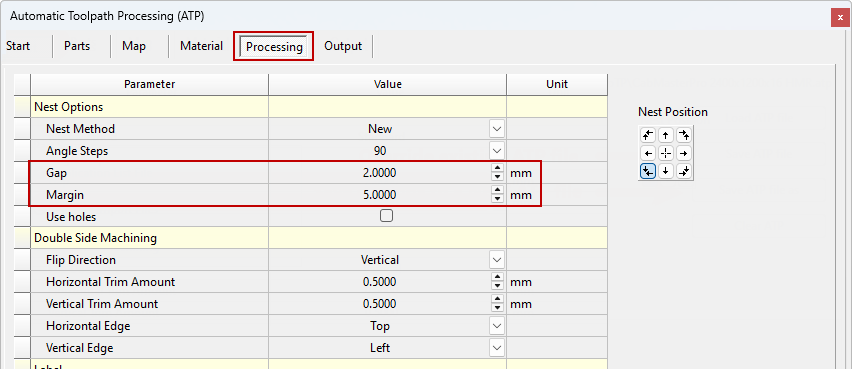
Gap, Margin : Overall part dimensions when nesting include any external toolpaths allowing nesting spacing parameters to be very small or even 0.0 to maximize material usage.
The Gap and Margin can also be adjusted using CNC Config > Nesting Settings (click on image below to view).
Click to view CNC Config and Nesting Settings
Step 3
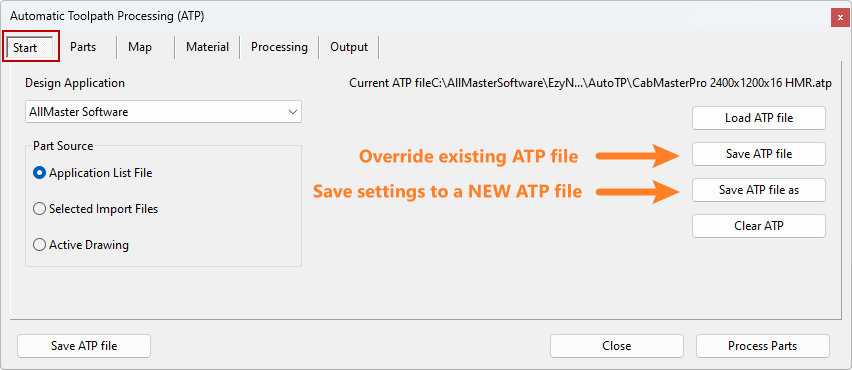
Save ATP Changes
Save ATP File : Do this whenever a change is made to your ATP to ensure the change is saved for future use.
Save ATP File as : Use this button if you want a new ATP file and provide a descriptive name that is readily remembered.