CabMasterPro User Guide
Do you need to have a PDF document of your job that you can email to your customer?
Putting your 3D View design on your Plan View and emailing it to your customer is a simple task and can be done with any level of CabMaster Software™ i.e. 3D, CL, Pro or Machining Premium.
 Watch the Getting Started webinar/video tutorial starting at 34:21 mins for a demonstration.
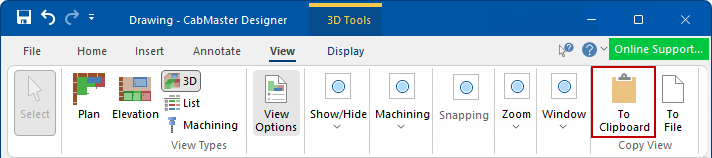
Once you have created your design in CabMaster Software™,
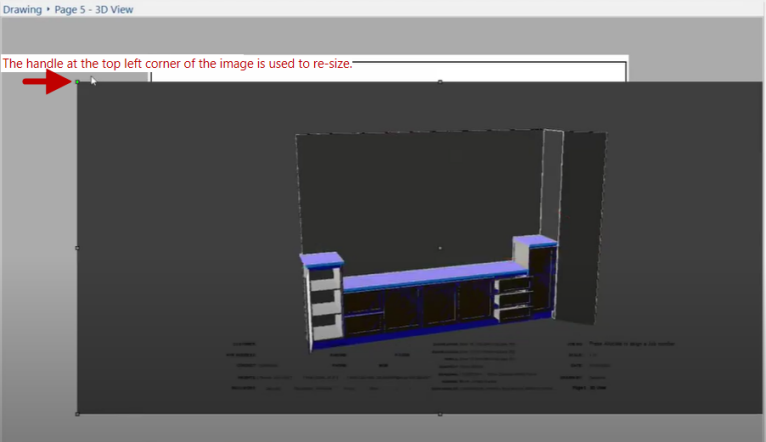
A “negative” inverted large image showing your 3D view will appear on your Plan View.
Example
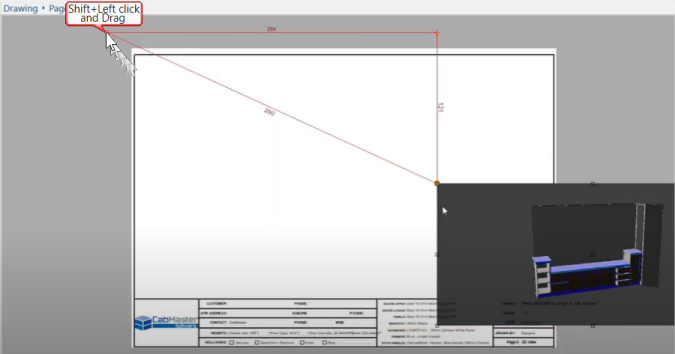
Using the Shift+Left click key while dragging your mouse to resize a picture will force CabMaster Software™ to keep the picture in the same shape (also known as aspect ratio).
While holding down the Shift key on your keyboard...
When it has reached near the bottom corner of your screen, let go of your mouse button, then click on the image and drag it back up towards the middle of your Plan View. Keep repeating this resizing step and/or use the arrows on your keyboard to move your image until it comfortably fits on your Plan View.
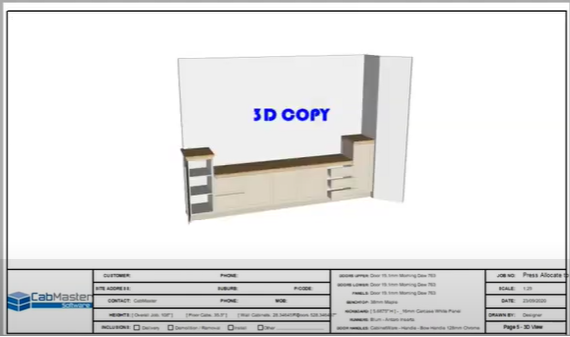
Result
In this example, an annotation (label) was added.
You can now save this as a PDF file which can then be emailed to customers etc.
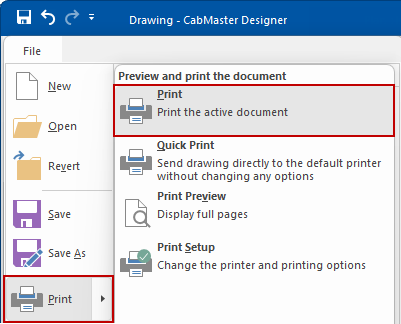
From the File menu, select Print > Print option
Select a printer and click Print/Ok button
In this example, we will select the 'Print to PDF' printer option. Then select the Page Range, as required and click 'Print'
This will open a 'Save Print Output As' dialog (similar to Save As) allowing you to select a location and type in a file name.