
 |
For quick links to more information, click on  the options or another page.
This drawing tool is located on the Insert tab and can be customised with the right click Format... option.
Developer Software Users: To find out the property names for these controls, see the 3D Model Tool page under the Formula Reference.
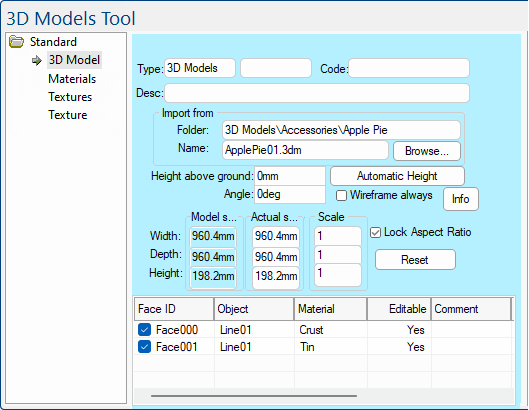
The 'Folder' and 'Name' text entry boxes control where the model is loaded from. It is often easier to use the 'Browse' button to find a file as opposed to typing the information directly in. If however you wish to use the text boxes, for example if you want this formula controlled, you simply enter the folder of the file in the Folder edit box and the filename in the Name edit box.
Height above ground determines the vertical position of the base of the 3D model. This can either be manually typed, or if you click Automatic Height CabMasterPro will place it on top of the tallest item underneath it.
This field determines the angle at which the item is rotated in an anti-clockwise direction.
The 'Wireframe Always' option can be used to make CabMasterPro render this model in wireframe, regardless of the 3D view mode which is being used. This is useful if a model is highly detailed and slowing the rendering process when you are trying to look at the details of the design around it.
This value determines the size CabMasterPro will draw the item relative to the scale it is in the .3ds file.
CabMasterPro will read values from the model file to try to obtain the correct scale to use. If the model file was configured properly, this should calculate precisely the right values. If not, then it is possible to override them by simply typing your own in the textbox.
When this is turned ON, it keeps the width vs height ratio the same.
The Materials page allows you to view the materials used in creating the 3D Model. Only available with some file formats.