CabMasterPro User Guide
The View ribbon command tab allows you to customise how the Status Bar, Borders and Windows are displayed.
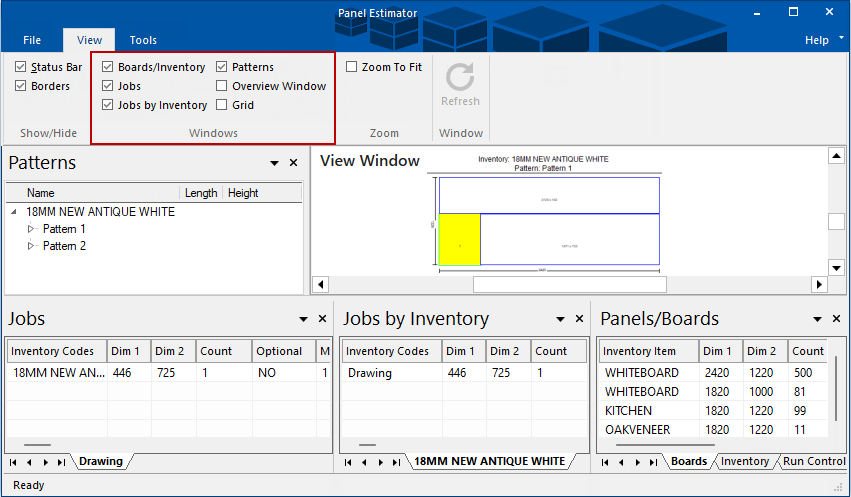
The View command tab allows turn on/off visibility of Windows using check boxes in the Windows group of commands (highlighted in image above) or docked/floated.
These are six (6) available windows which we will now discuss.
Where the board patterns appear. This will only appear after you select Tools > Run command (shown above).
- You can use the Zoom to Fit option in the Zoom group or zoom in/out of large patterns using the mouse scroll button - See Mouse Shortcuts.
- A grid can be turned on/off by using the Grid check box.
Lists the materials and all the optimised patterns for each material. Panel Estimator displays these in a ‘tree’ control like Explorer. Select a pattern you wish to view and it will be presented in the View Window. In the above example, there is are two patterns i.e. Pattern 1 an Pattern 2.
Displays all panels in a grid and groups them by job. Each job has its’ own tab so several jobs can be opened at once. You can modify the required panels from here.
- When using Panel Estimator stand alone i.e. File > New Job, this is the window where you will enter panel sizes, materials and quantity required.
Example
Shown here are two jobs imported from CabMaster i.e. Drawing and Panel Estimator Example and one standalone job i.e. Jones Kitchens PL.oro (file name).
If you have several jobs opened you will have to use the small arrow buttons to locate each job.
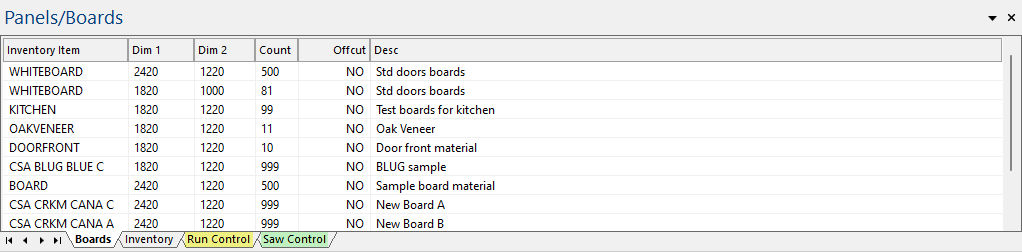
Displays all panels in a grid and groups them by material.
Example
There are four (4) associated tab i.e. Boards, Inventory, Saw and Run control settings.
The options in this window should be setup before optimising your first pattern - See Setup Boards and Inventory.Example
Makes it easier to navigate around large patterns. Use this overview window in conjunction with the View Window
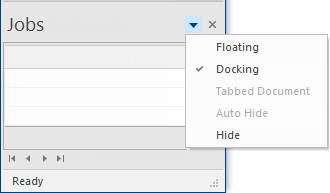
You can select from the Window Position drop list to have the windows to be displayed in Floating or Docking mode similar to the function in CabMaster.
Windows can be undocked so that they float within or outside the application window, which can be very useful for those working on multiple screens.
When there is more than one window docked to the same side, those windows can be laid out in one of two ways, stacked or tabbed.
See Tutorial Docking or Floating
Click to view tabbed window, docked.
The selections you choose will be remembered by the software and be applied until such time as you change the mode selected.
If you accidentally loose them, simply turn on required window by using the check boxes in the Window group of commands on the View tab.