CabMasterPro User Guide
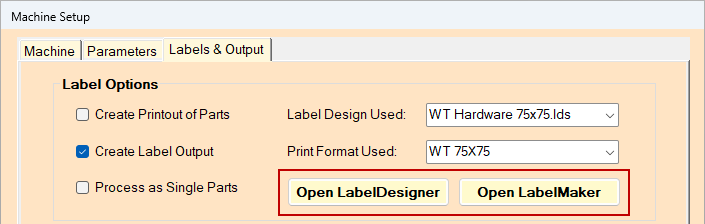
There are two utilities that come with the labelling facility and are located under the EzyNest/AutoTP/Labels folder. These are the LabelMaker.exe [LJD files], which controls the manual printing of labels and allows the setup and editing of the label stationery in use and the LabelDesigner.exe which allows you to design the layout of the label.
These two utilities can be opened directly from the CNC Config i.e. Machine Setup > Labels & Output tab, as shown.
The initial label setup is provided by technical support but can be adjusted as required.
The nesting, application of toolpaths, production of labels and output to the flatbed are carried out using EzyNest which is a powerful drawing package in its own right.
 Watch the Video below which discusses using Label Designer.
LJD files are only used for manual label setups i.e. where labels are printed using a separate printer and then the labels are adhered onto the parts by hand. (See also Compass to Orient Labels topic)
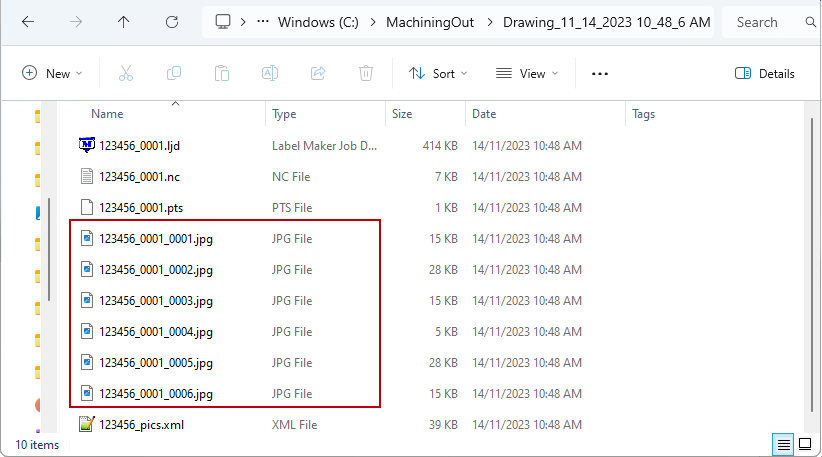
If you have an AutoLabeling CNC (that prints the labels onto the parts as it cuts them out) EzyNest will create .JPGs or .ZPL images (or similar) instead - those images should end up in the same place as the .LJD files.
Example of jpg print files
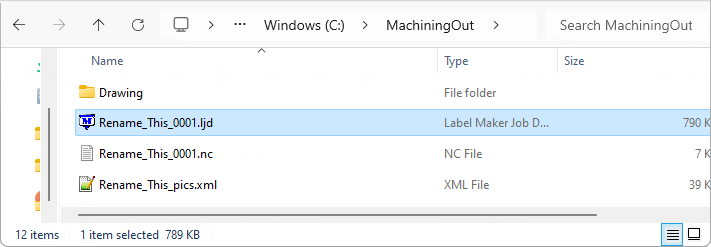
When a job is (or several jobs are) processed through the ATP a batch of labels is created for each nested sheet of material. These are not printed immediately, but are held in files along with the material sheet files ready for processing on the flatbed. The files have the same name as the associated material sheet, but with a file extension of .LJD.
This allows the labels to be printed wherever is appropriate i.e. in the office, at the flatbed machine etc. The printing can be done from any PC (including that which controls the flatbed).
To print the labels a copy of the LabelMaker.exe utility is required on the PC from which they are to be printed. A copy of the LabelMaker.exe utility will have been installed along with EzyNest.
There is no additional licensing required to use this on multiple machines. Simply copy the LabelMaker.exe utility to the desired location and run it once by double clicking on it (this sets up an association with the required file types). Thereafter, double clicking on the label file itself will immediately print it to the PC default printer.
To print the labels (to the default printer) just double click on the LJD file.
To print to a different printer than the default, then run the Label Maker, change the printer and open the LJD file from within the Label Maker itself.
The file location (e.g. C:/MachiningOut) and file name (e.g. Rename_This) will be designated on either the CNC Config Machine Setup > Labels & Outputs tab or the EzyNest ATP > Processing tab.
Problem: When you double click on your *.ljd file it will not automatically print, it will simply run LabelMaker and nothing else.
Solution
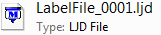
Generally you will notice that the icon for the *.ljd will look like this:
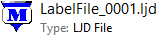
If you set LabelMaker.exe as “Run as Administrator” in its location in the EzyNest\AutoTP\Labels folder, you will then see the icon look like this:
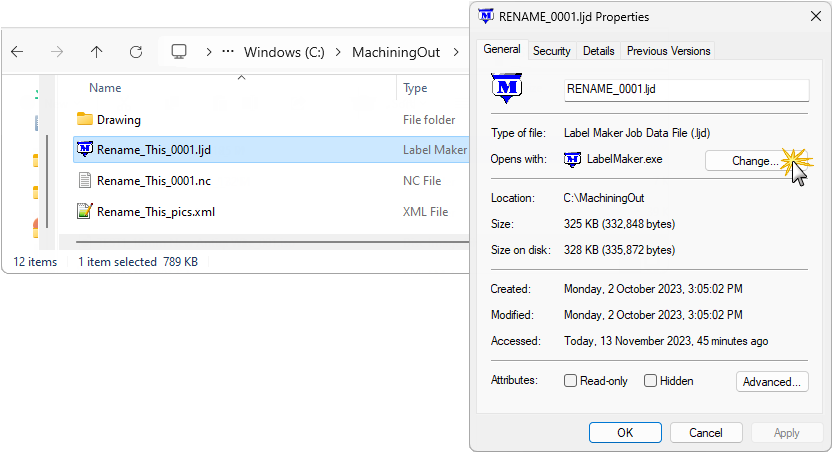
If it does not automatically look like the image above, you should try right clicking on the file, and going to the Properties.
Then in the General tab you will see "Opens with:" use the 'Change' button to go search for the application you want, but do not use the LabelMaker.exe that is already in the suggested list, browse to it again in the EzyNest\AutoTP\Labels folder and apply the change. Then you should see the icon change.
Example
Now if you double click on the *.ljd file it should run LabelMaker.exe and print the file in the same action.
There are two types of automatic labelling processes i.e. Label Designer and GCode.
Labels are created by the LabelDesigner and LabelMaker and the automatic process calls for these labels one at a time as required and applies them to the sheet.
This approach typically gives more fully functional labels as it supports all the formatting and presentation options of LabelDesigner, including the use of images on the labels, and more complex layouts. Labels need to be generated one at a time on demand and a robotic controller needs to apply these labels in the correct orientation at the correct position on the sheet.
Information is provided to the NC controller in GCode form for all the labels on a sheet. The controller then creates the labels (or prepares to print ink directly) and applies them to the sheet.
This approach is simpler, but the labels typically are more limited. For example one or two short lines of text in one font size. But again, the controller needs the position and orientation to be supplied so it can create each label.
In this webinar, we walk you through setting up and customizing your labels to suit your workshop needs so you can really take advantage of what Label Designer has to offer. [23:09 mins] Click here for a step by step discussion.

All of our live webinars are recorded and uploaded to our YouTube channel - Simply click here for a play list.