CabMasterPro User Guide
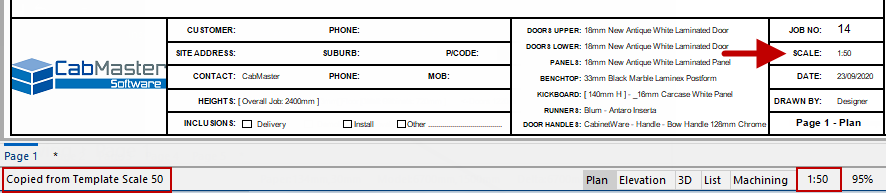
This CabMasterPro feature allows you to adjust the size of the drawing in comparison to the full size of the cabinets. A scale of 1:30 means that cabinets on your drawing will appear 30 times smaller than they are in real life. For example, an image of a 300mm cabinet will be 10mm wide when you print it out.
Increasing the scale value in the text box will decrease the size of the drawing on the page and vice versa. If you run out of drawing space, you can increase the scale value to shrink the drawing, as discussed in this tutorial.
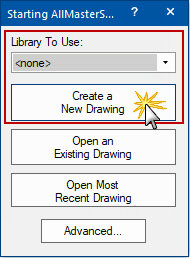
You can adjust the scale at any time, although it is recommended you set it up correctly when you start a new drawing by creating a template.
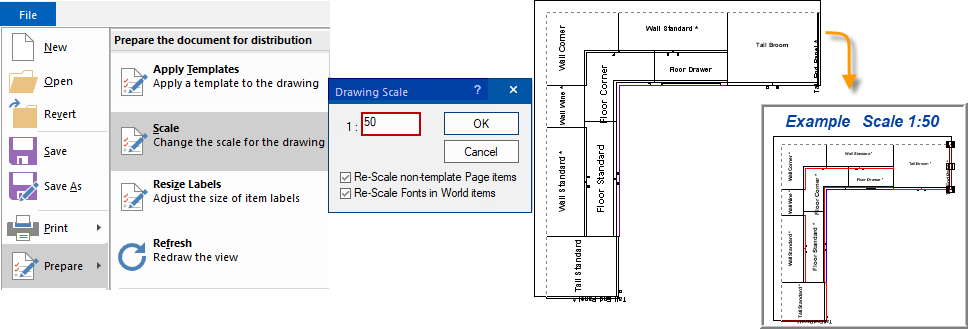
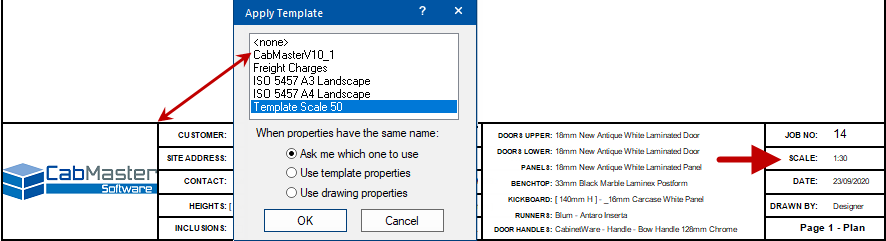
A template is typically applied when starting a new drawing (if the Apply template dialog option is turned on). You can, however, apply a template at any stage and can even apply several templates to one drawing from the File menu > Prepare > Apply Templates. Since these templates should contain only properties relevant to their purpose, you could apply them all, in any order, without problems.
To illustrate this, the image shows a new drawing with a template (CabMasterV10_1) already applied and the scale is 1:30. We will now apply our newly created template, as well, which will change the scale to 1:50
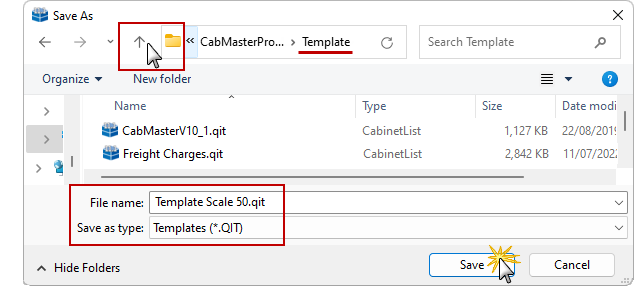
Since we are applying another template to the one drawing the dialog does not open automatically, so you will need to select File > Prepare > Apply Templates and then select the template you created as per the following illustration.
You will get a message asking if you want to "Delete existing template items?". Click No.
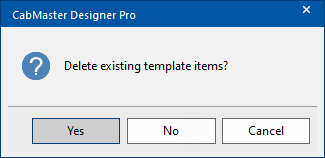
This will preserve your settings from the CabMasterV10_1 template and the new scale will be applied to your new drawing.