CabMasterPro User Guide
CabMaster Software™ makes available a Customer Care Agreement which provides customers with regular software updates and technical support.
As well as adding new features and functionality, these updates usually fix minor bugs in the program and are typically released every few months.
 on Library updates can be accessed by press the What's New or Help button provided on the Job Setup > About page of the Drawing Properties [F4].
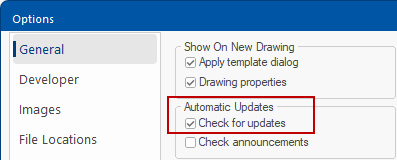
 From the File menu , open Options [F10] > General page and ensure that 'Check for updates' is ticked on.
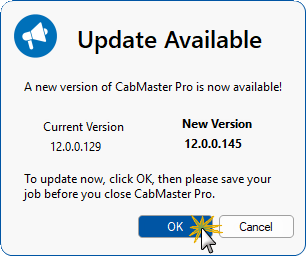
It is normally best to leave the Check for updates option enabled, so that each time you start CabMaster the AutoUpdater will launch automatically, ensuring that you are always notified promptly when a new version is released and ready to apply.
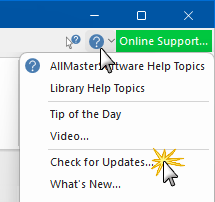
To manually Check for Updates, use the Help menu option
To initiate a Check for Updates manually, use the option located on the Help menu, as shown.
 Watch the Video A Minute with Mike : Updating your CabMaster using the AutoUpdater.
Watch the Video A Minute with Mike : Cloud License Release Settings.
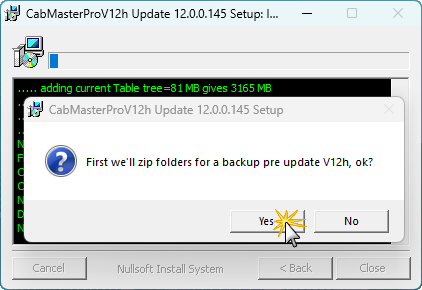
The update installer will backup ALL files from your current File Locations folders, other than your Data folder which likely has all your old drawings and should always be backed up separately as part of your operating procedures.
The zip backup files created are stored in the Backup subfolder of your current Program Folder. The zips all have the same date-time prefix in their names as year-month-day-hour-minute, e.g. 20260120-1030. This naming uses the time you started the install, and is a useful reference if you ever need to recover lost files from an old backup.
Also note that your Table.distrib folder contains updated files that have not been put in your Table folder because you may have customised these tables. If you have not, we suggest you copy these distributed tables into your real Table folder.
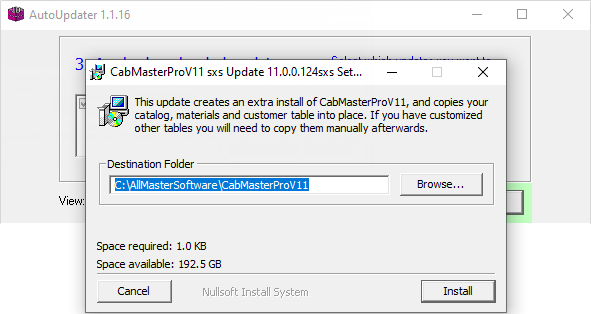
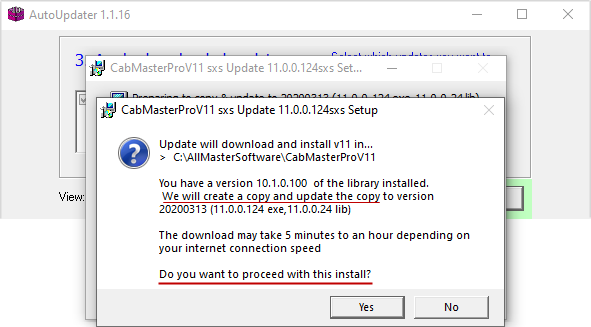
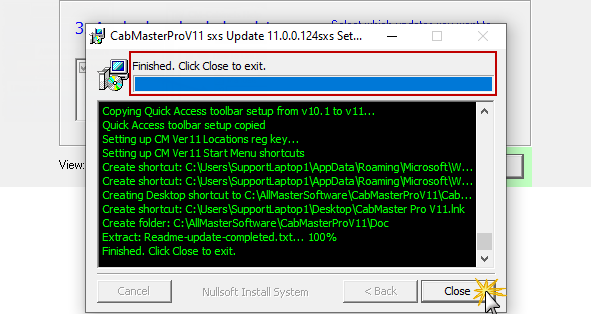
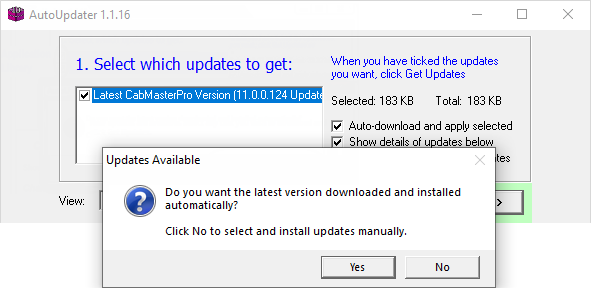
The following shows you what to expect. The order may change but the principles will be the same.
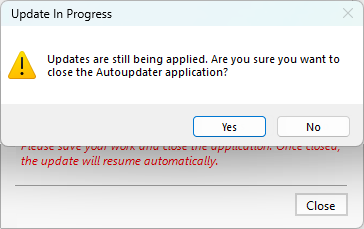
Do NOT press the Close button unless you want to end the AutoUpdater.
If you press the Close button, you will be asked to confirm the request.

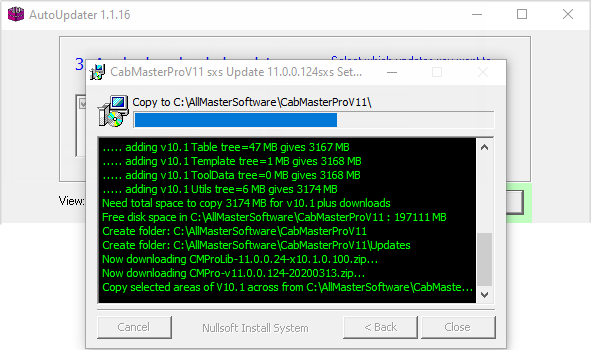
Example of 'Installing Updates' window.
No further action is required, simply wait while the update completes
Simply wait until the backup is finished and click Close to exit.
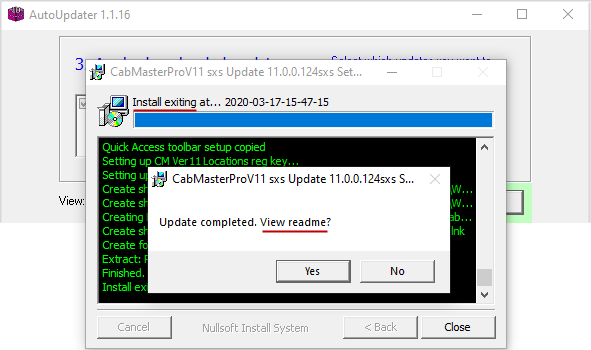
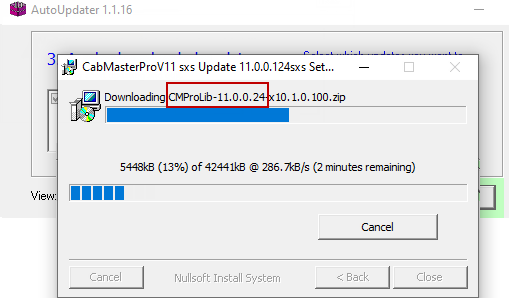
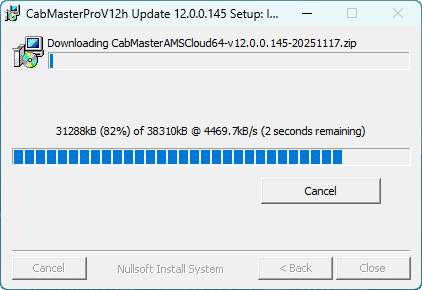
Depending on the speed of your HDD and computer this could take a different amount of time for each user (as each of the files are a different size) so some will happen faster then others.
Once all the transfers are done the updates will apply rapidly.
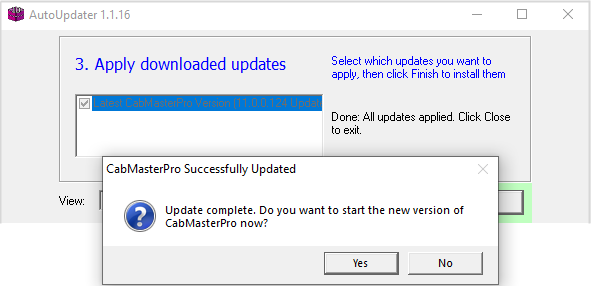
You will be notified that the update has been installed. When you later open CabMaster, click on the  icon to get the drop menu, as shown.
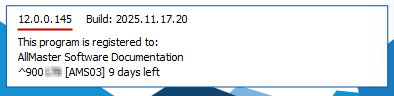
Once completed, start the application again and the splash screen will verify the application version that you are now running.
You can also verify the application version from the File > About window.
You can verify the library version on the Job Setup > About page of the Drawing Properties [F4].
Automated update emails are generated periodically to help keep your software up to date or to monitor expiry dates (provided for Lock Protection).
If you receive an email, such as per the example below, before you do anything, ensure:-
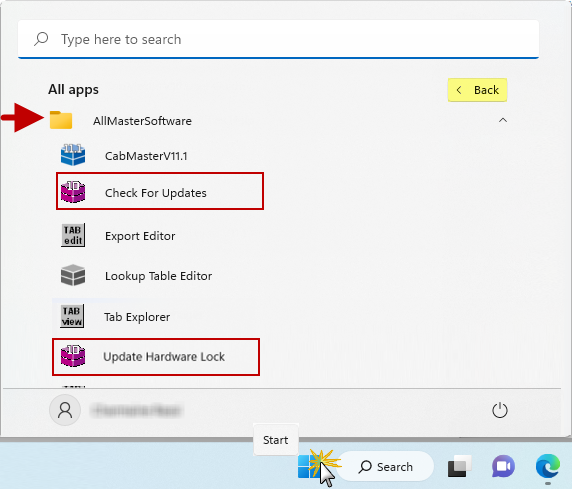
Example of Start menu and selection
There are a number of ways to open an application. (Windows 11 shown below)
First open the Start menu (one way is to click on the keyboard
key), then either ...
- Type in 'Check for updates' in the search box;
or- Click the "All Apps" button top right (this changes to 'Back' button, shown below highlighted in yellow).
Example of email
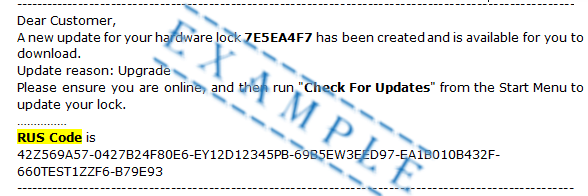
When using a RUS Code to update a hardware lock you will need to :-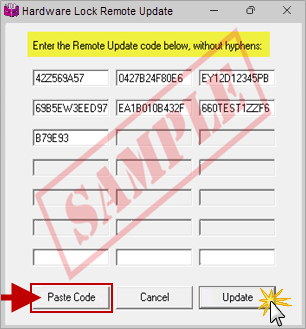
A Minute with Mike: Mike walks you through the steps to update your CabMaster to the latest version using our AutoUpdater. [2:14]