CabMasterPro User Guide
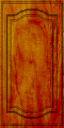
A texture is an image drawn onto the face of a 3D object to give it a more realistic appearance. In CabMasterPro, these objects are usually cabinets, benchtops and walls. Common textures include wood grains and laminates, stained glass designs and so on. When these are "painted" onto cabinets in a 3D view, it results in a much more life-like image.
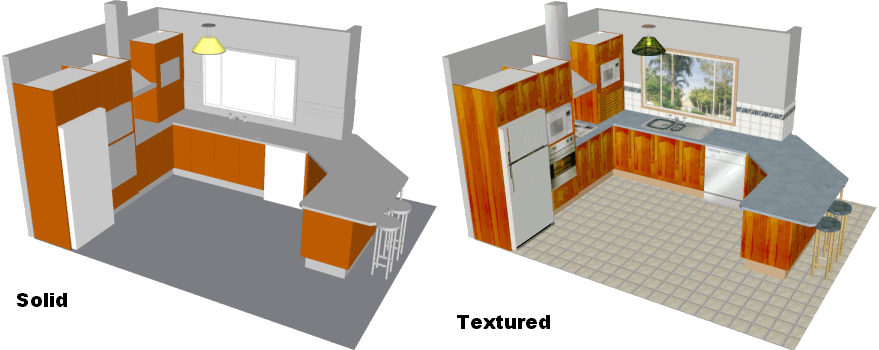
The following shows the difference between solid (or "flat-shaded") and textured objects.
Example of Solid vs Textured
Generating a 3D Image transforms a simplistic drawing to a near photo-realistic picture.
Each texture is stored as a bitmap, although they may be saved in a variety of different image formats. They are usually created by scanning in samples or photos of real material. CabMasterPro provides a large selection of textures when you install it, and new colour ranges or styles can easily be added with future updates.
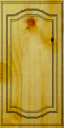
A texture on the face of any 3D object is actually created out of two bitmaps, a surface and a style. Surface is equivalent to the usual concept of a texture, i.e. the material that an object is made of. Examples of surfaces are wood grains and laminates. The other bitmap is a style (or design) on the object - the most common example of this is a carved pattern on a cabinet door.
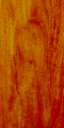
Here is an illustration of a surface and style combining to form the final texture:
 +
+  =
= 
The resulting texture is calculated by multiplying the colour values of surface and style together. This means they are combined pixel by pixel using the following rules: a pixel of any colour multiplied by...
A pixel is a single point on a bitmap. For the technically minded, this is like merging two layers using the Multiply method in Paint Shop Pro. This makes sense when you consider that black has a value of 0.0, white is 1.0 and every other colour is in between.
The need for surface and styles becomes clear when dealing with door ranges. If you were to have a separate bitmap for each combination of material and pattern in a range, the number of images needed would most likely range into the hundreds. However, by separating the pattern from the door, we can mix and match them in any combination we like.
Example
These two textures were created with different surfaces but the same style:
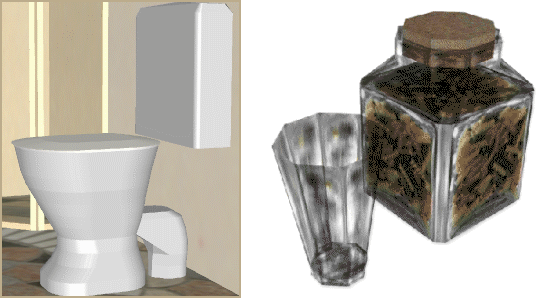
You can apply a texture bitmap to any face of a cabinet, in both 2D plan views and 3D views. The texture is typically something like a timber or laminate, which will show up in the Textured 3D view. A texture for 2D views (or Face Picture) can be used for showing detailed line work like shelf cut-out patterns, fretwork or sinks.
As a simple demonstration, we will walk through how to apply a texture to a Wall. See also True Radius Curves
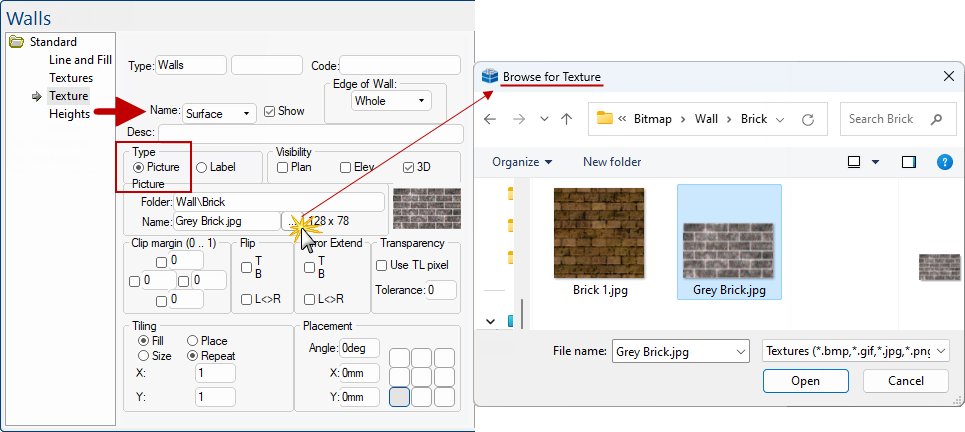
Click to view Preview Pane in 3D and related Textures page
Note that options can be to individual walls or the whole wall using the drop list. In this example, changes have only been applied to Wall 2.
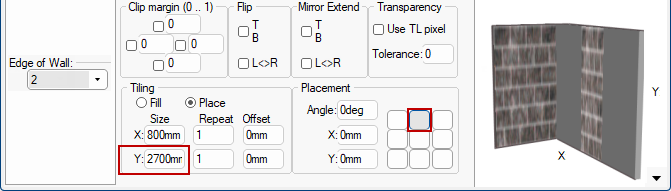
Click to Expand - Note that options have been applied only to Wall Edge 2
Here is the same wall again with a glass pane texture applied.
Click to view in Plan and a rotated 3D View
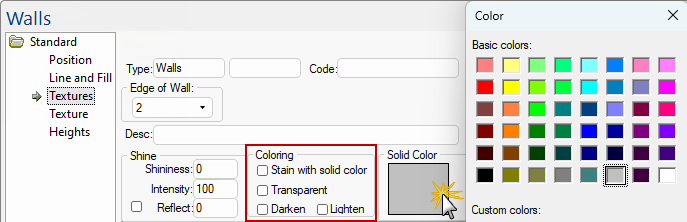
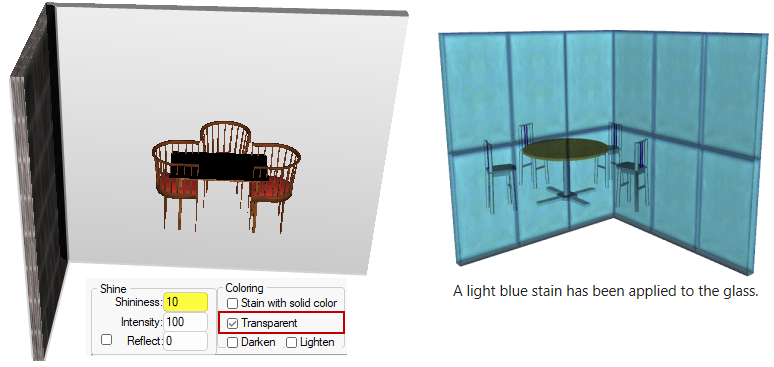
Even though the texture looks like glass it will not become transparent automatically, we must turn on the 'Transparent' checkbox. Conversely, just because we make it transparent it does not mean it will look like glass (or even be visible) - we have to apply an appropriate texture to it.
In both examples above, a table setting has been placed behind the wall so we can notice the transparency - click on image to view drawing.
See also the discussion in the Doors and Windows in Wall Tutorial, where cut outs can be applied to a wall so that furnishing on the other side can be viewed.
The two images below show ...
As mentioned, you still need to apply a texture to a transparent section, otherwise it will be completely clear and hence invisible. The transparency option allows you to achieve effects like stained glass, or beaded water on a shower screen.
When you specify the picture on a Textures page, it is possible, and in fact recommended, that you leave off the image file extension. When there is no File Extension on the picture name, CabMasterPro will look for any image files which start with that name (this is the image search order). Recommended
This is useful because if, for example, we have a large set of textures stored as low-quality bitmaps and we then get a replacement set of good quality, high resolution JPEGs, we would have to change every face on all the sections of every cabinet to have the texture name end with ".jpg" instead of ".bmp". But if we had left the file extension off all our texture names, it would simply be a matter of deleting the bitmaps and copying in the tree of JPEGs. When CabMasterPro went to load the textures it would search for the image name and use the JPEGs when it couldn't find the original bitmaps.
When searching for images, CabMasterPro checks for file extensions in this order:-