CabMasterPro User Guide
In this tutorial we will use the Insert > Ceiling command button to add a ceiling. You can create ceilings that are Fixed (flat), Sloped or Independent.
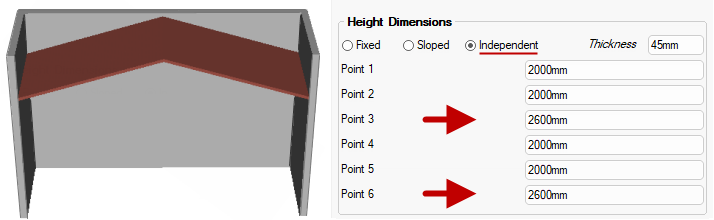
In this tutorial we will create a pitched ceiling using the Independent settings, as shown, which allows you to be creative and set any number of points to a placed ceiling, and even set them at different heights..
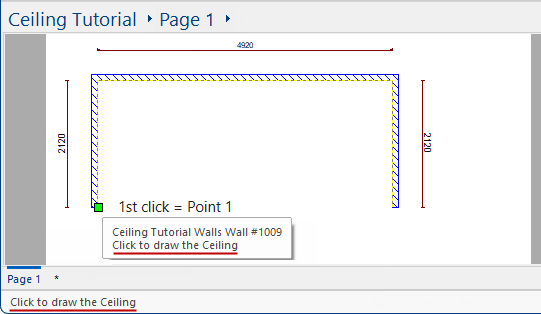
The first thing we will need for this tutorial is to place a wall, shown below, which has 3 sides with dimensions...
Click on the Ceiling icon on the Insert tab and then follow the prompts in the status bar.
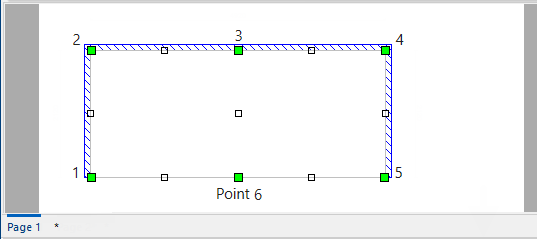
Now we will create a ceiling with six (6) points, as per this example.
For the first point we will click on the left hand corner of the placed wall, indicated below with a green marker.
Ceilings, like walls, should be drawn "one way" in a clockwise direction. In general, it is best to start in the lower left corner of the drawing page.
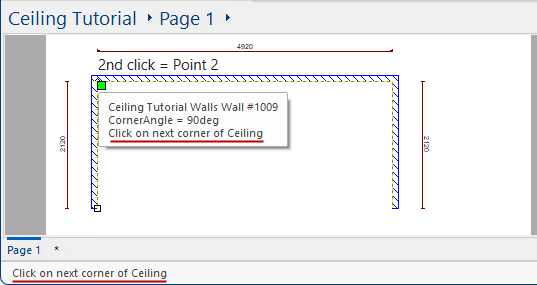
For the next point of the ceiling, click on the top left corner of wall, as shown.
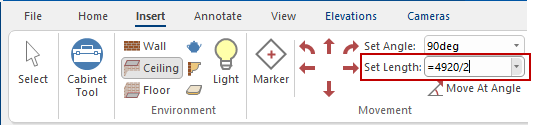
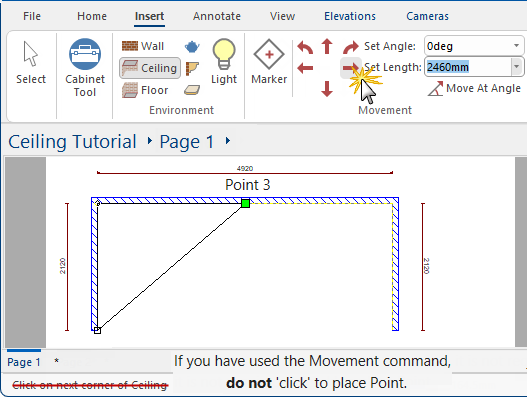
We will add a mid point using the Movement group of commands. We know the length of the wall edge is 4920mm so we will enter a formula to calculate mid point in the Set Length edit box.
After entering the formula in the Set Length edit box, click the move to Right arrow, as shown.
This will create Point 3 and therefore you do not 'Click on' as this will create a duplicate point.
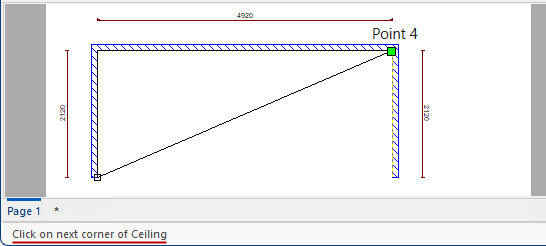
For the next point of the ceiling, click on the top right corner of wall.
Click to view
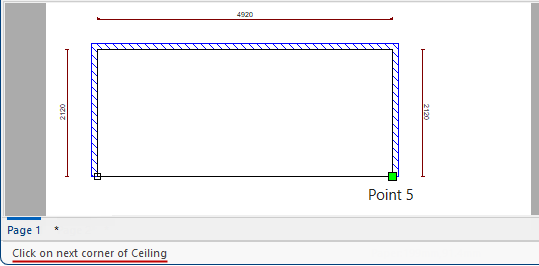
For the next point of the ceiling, click on the bottom right corner of wall.
Click to view
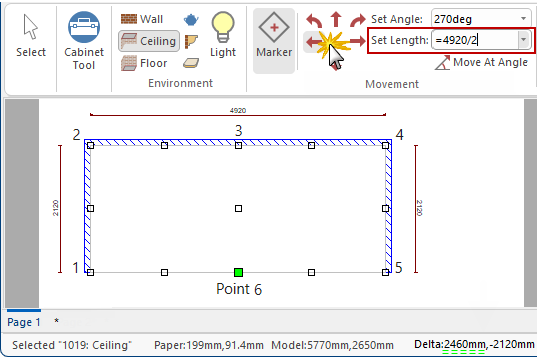
We will again use the Movement group of commands to set a mid point.
After entering the formula in the Set Length edit box, click the move to Left arrow, as shown.
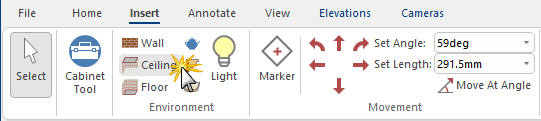
To end the ceiling function, click on another command button e.g. Select.
To start a new ceiling, click on the Ceiling command button again.
You can now change the vertex heights to split ceilings (and floors) into multiple segments to allow peaks and valleys.
When first selected, all point heights are set at Fixed height.
If you do not see the multiple Point Height edit boxes, click on one of the other options and back to the Independent option. This will refresh the property sheet allowing height dimensions to be entered manually.
Dock the property sheet and View in 3D so that you can view the changes to the ceiling as you change the Height Dimensions.