CabMasterPro User Guide
There are a number of ways to format an elevation, which will be discussed in this topic.
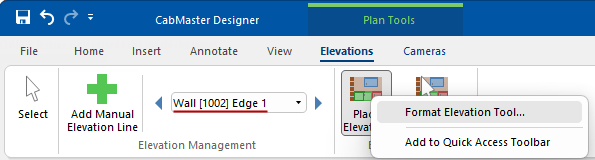
If you want your settings to apply to all future elevations make your changes to the Drawing Tool.
Do this by right clicking on the 'Place Elevation' command icon on the Elevations tab.
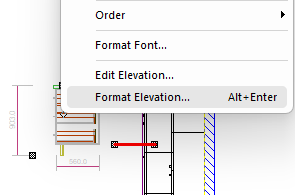
If you want your settings to be applied to an individual elevation, then use the Format tool.
- First select the required elevation placed on the drawing plan;
- Then either double click on it or use the right click menu and select the 'Format' command.
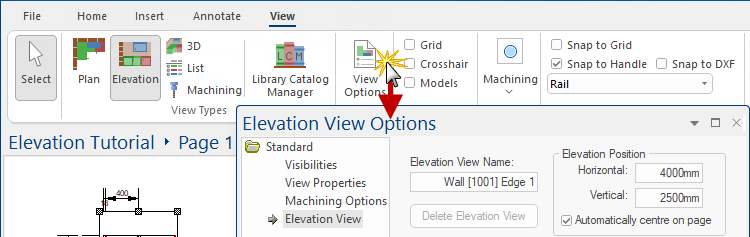
If you are in Elevation View, you can use the View > View Options [F9] command.
However, be aware that even though this dialog looks similar to the ViewItems dialog Style page discussed next, there are some differences.
Click to Expand
To format an individual elevation, select and use the right click 'Format Elevation' option (or double click).
The Page # edit box is used to show or set which drawing page the object appears on i.e. move an elevation to another page - see Elevation Management.
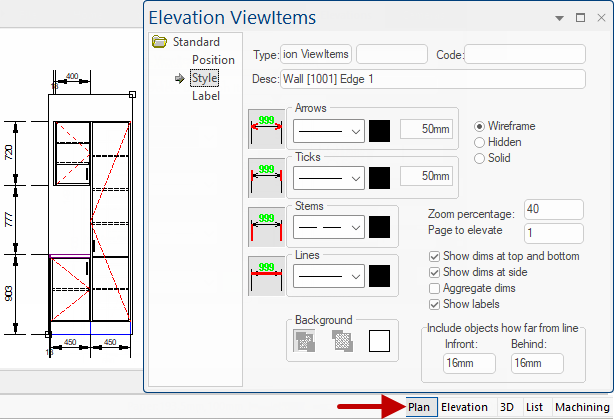
The Style page page allows you to change the look of the elevation. Note that the Door Swing is set in the Catalog/Drawing Properties.
Click to view resized elevation
Show cabinets in wireframe, hidden or solid view and appearance of dimension lines.
You can combine elevations by simply moving one of the elevations over the top of the other. You may need to change the Order to view correctly.
Use the Zoom options to set the size your elevation is displayed and the drawing Page that the elevation is generated from.
Side and Top/Bottom dimensions can be turned on/off by using the 'Show Dims' check boxes and you can use the 'Aggregate dims' check box to change how these are displayed (i.e. total length or individual measurements). Extra dimensions can be added - see Annotating the Elevation tutorial.
The 'Include' option to reveal cabinets based their distance from the elevation line is also available on this page - see the topic on Viewing the Elevation.
This is important as cabinets will not appear in elevation view if a cabinet is not placed within the set distance.
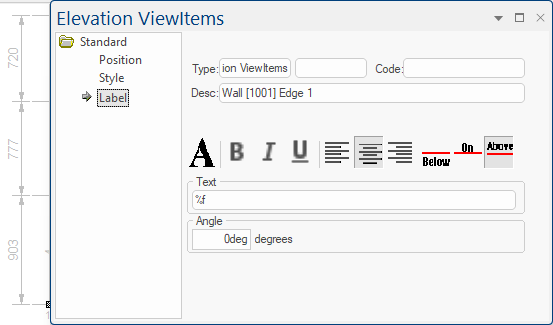
The Label page allows you change the format of the dimension label text and appearance - see Dimensions Format Label tutorial.
Labels can show a range of different items such as units, decimals, notations etc., for example...
Delete placed elevation by selecting it and then...