CabMasterPro User Guide
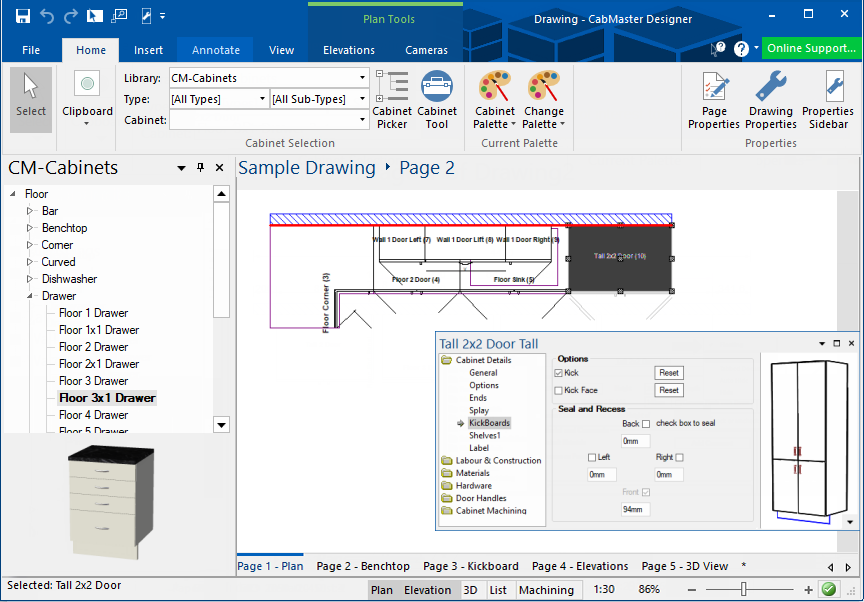
The following is an explanation of what the different parts of the main CabMasterPro window are and how they work.
See also List View, especially if your software product only allows a spreadsheet view.
 click on any area of interest on image below to locate relevant information.+
 Watch the Webinar Video which will walk you through the basics for beginners. [45:06mins]
Highly recommended for beginners or new workshop staff.
The title bar at the top of the CabMasterPro window shows the current drawing title and the program name.
Clicking on these ![]() buttons will minimize, maximise and close your software respectively.
buttons will minimize, maximise and close your software respectively.
Clicking on the ![]() button will close the software product you are working in the same way as File > Exit. If you have made any changes to the drawing, you will be prompted to save it before the program closes. If you exit without saving your drawing, all the work that was done to it since it was last saved will be lost.
button will close the software product you are working in the same way as File > Exit. If you have made any changes to the drawing, you will be prompted to save it before the program closes. If you exit without saving your drawing, all the work that was done to it since it was last saved will be lost.
You have the ability to create or modify Toolbars. Change the layout of buttons to suit your work with your favourite or most used buttons right where you need them most. Then remove the buttons you do not use.
You can move the scroll bar thumb to scroll the view to the left/right (shown below) or up/down. The scroll bars are on the right and bottom of the work area (or view).![]()
The drawing page is the area where you create your designs. Designs are composed of drawings of real world objects like cabinets and walls, as well as annotations like labels and pictures.
Create drawings by selecting and using various command tools, grouped under tabs, from the ribbon. Designs are modified by dragging objects with the mouse, or editing their properties.
Double-clicking a cabinet brings up the Cabinet Details, as shown, allowing individual cabinets to be formatted.
Property Sheets for Drawings, Cabinets etc all have a title bar which provides the ability to drag floating dialog boxes to be dragged across PC monitor/s.

Cabinet properties can be viewed in Docking or Floating mode. If docked then cabinet details will be made available in a Quick Access Sidebar.
For more information on the Cabinet Library see the Library Users Guide 
When you hover your mouse pointer over a button, selection, image etc, it provides more information about what happens with this option. Such as the 'Carcass' check box in the image below saying it turns the 'Flush With Doors' on and off.

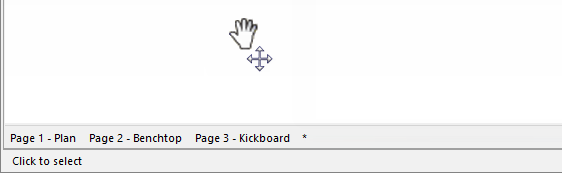
You can move the page you are viewing, left/right or up/down, by holding down both right and left mouse buttons. See Mouse Shortcuts.